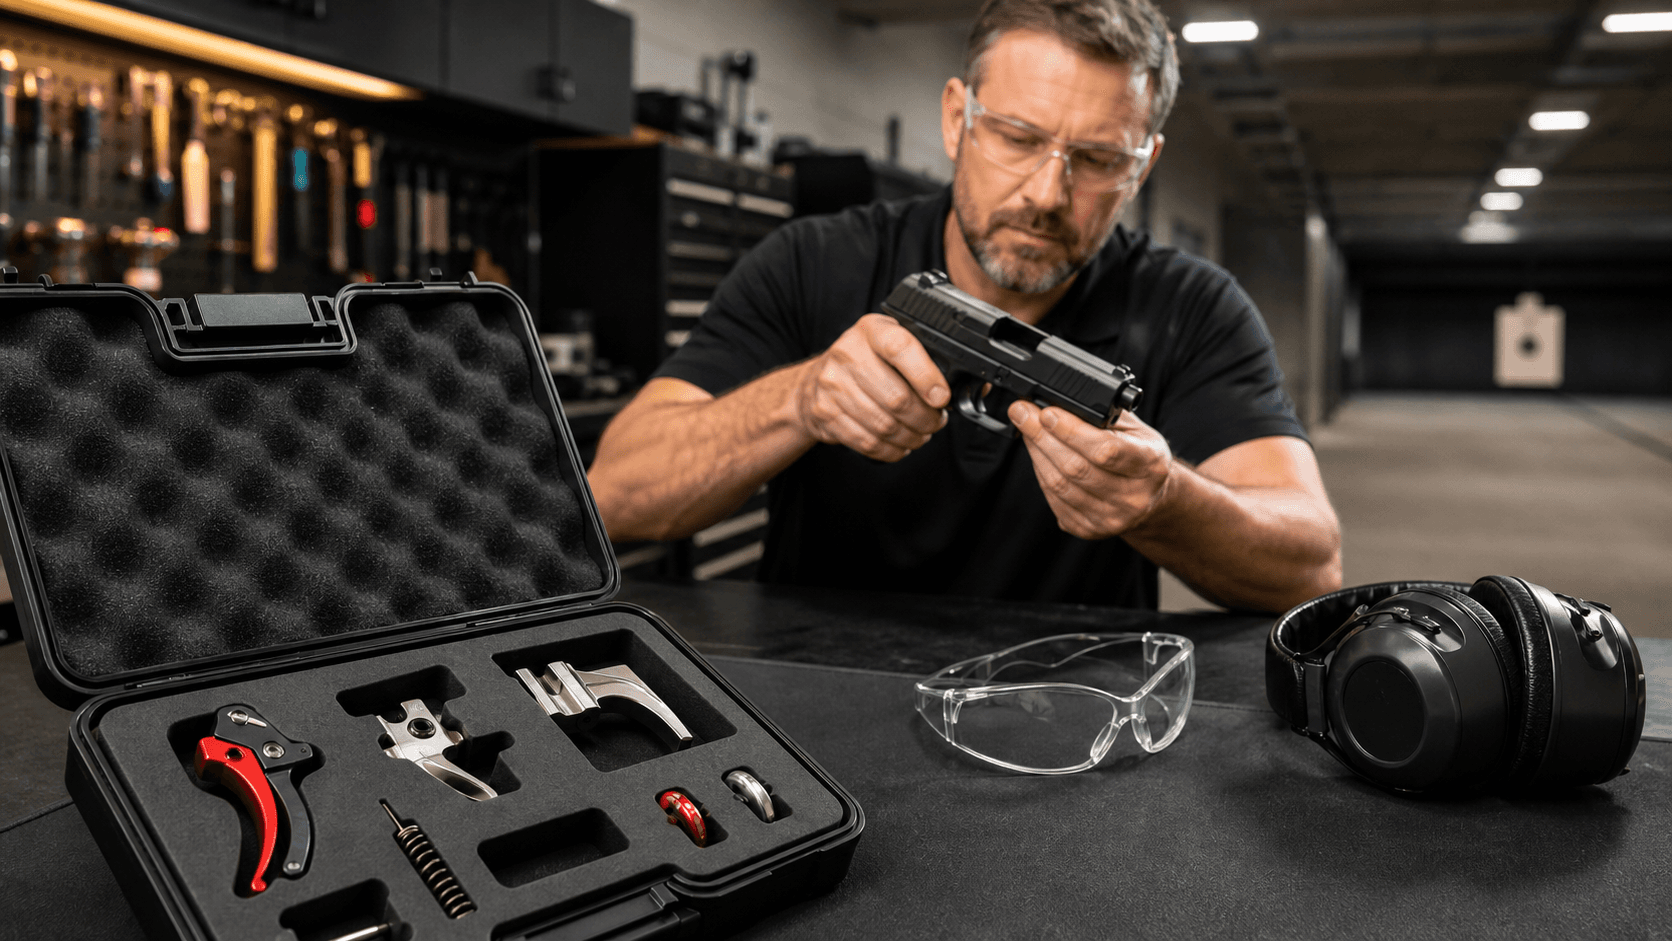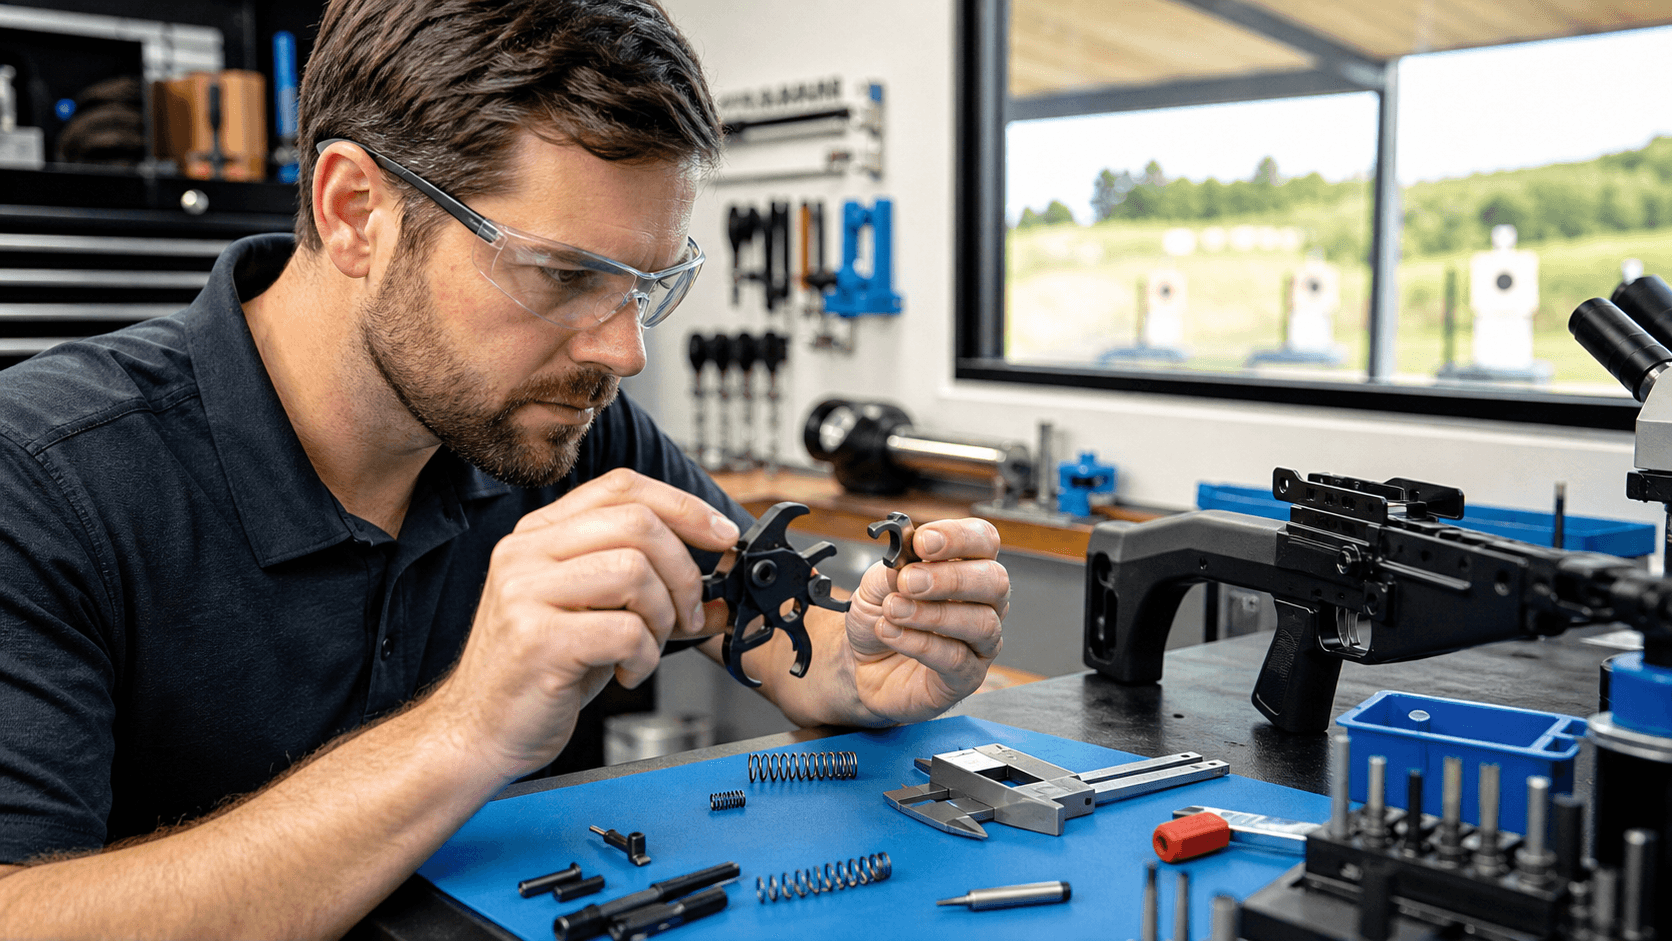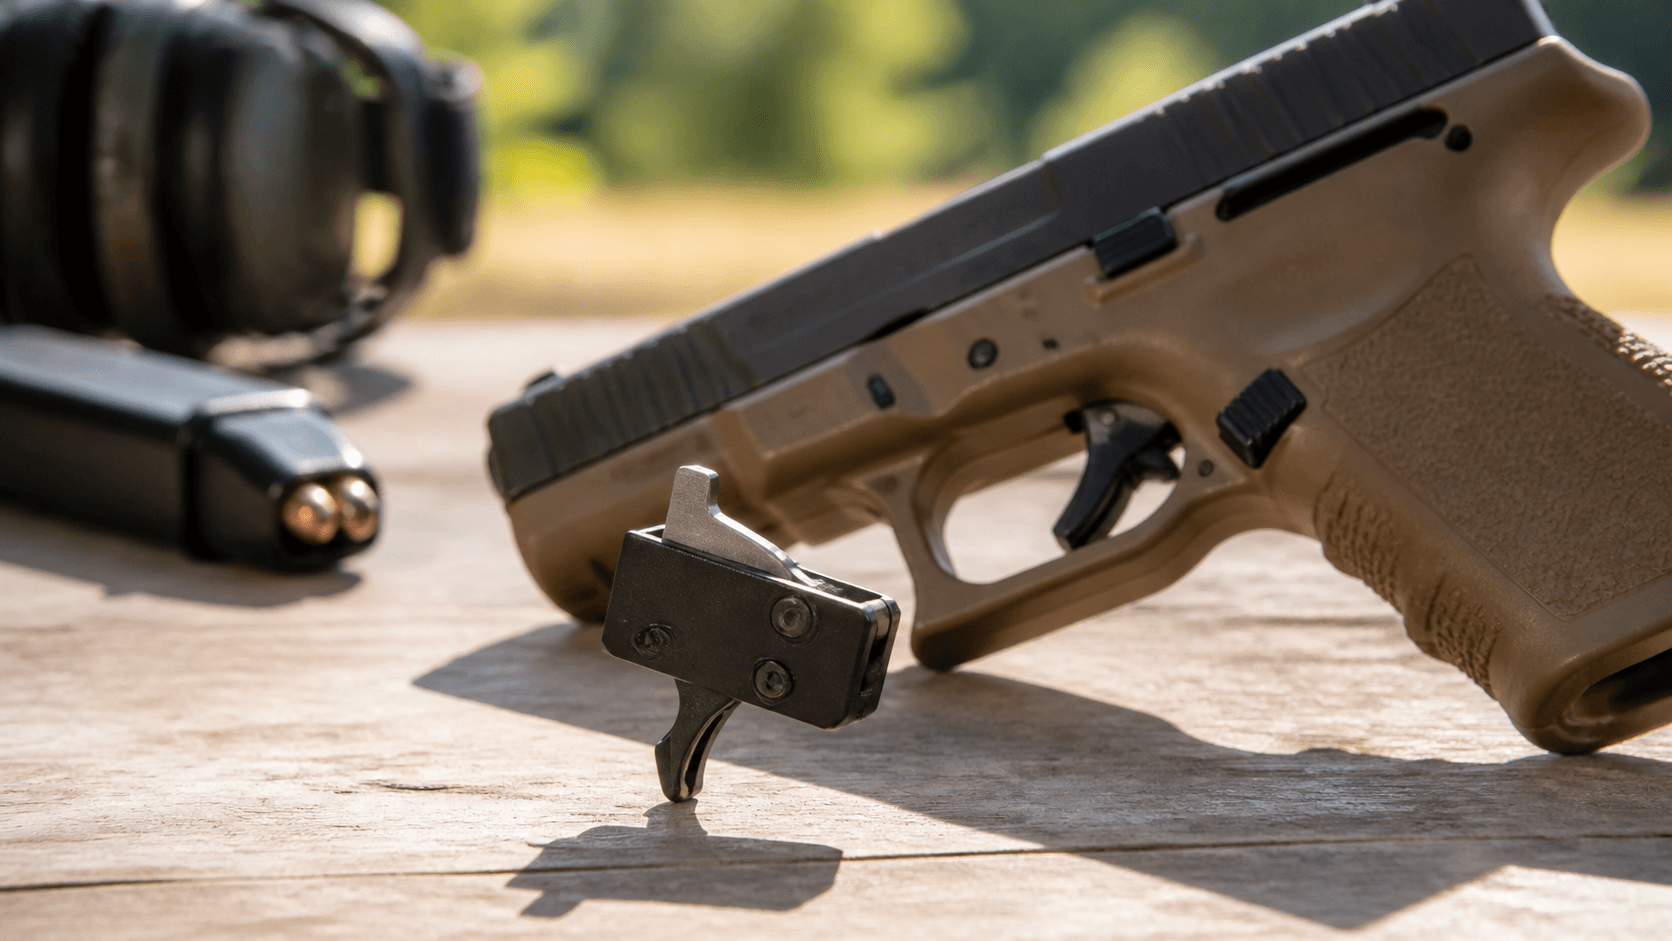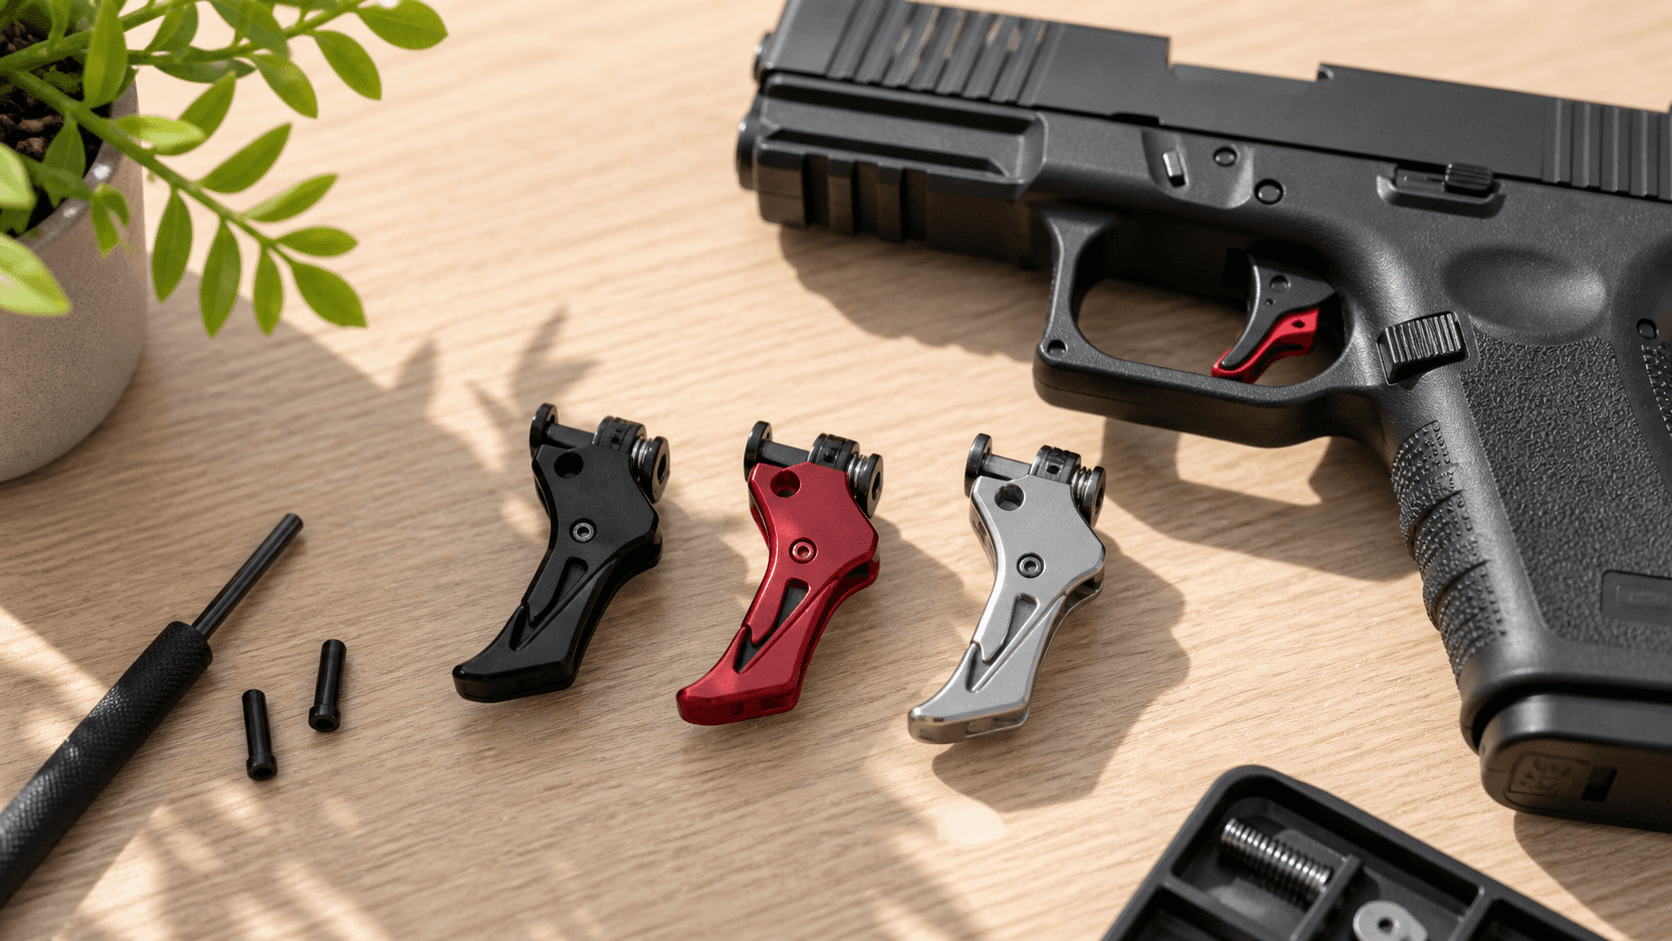
Unlock Faster Follow-Up Shots on Canik Pistols
A rapid reset trigger system is all about shortening the distance the trigger has to move forward before it is ready to fire again. The reset is closer, the feel is sharper, and your finger does less work between shots. That matters when you want tighter groups at speed, cleaner transitions between targets, or more control in a stressful defensive drill.
Canik pistols like the TP9, Rival, and Mete give a lot of performance for the money, which is why so many shooters run them hard as training picks up before fall matches and hunting season. The factory triggers are already pretty good, but there is still room to tighten things up. A well-designed rapid reset trigger system can help you shoot faster while staying in control, as long as it fits your specific model and is installed and tested the right way.
At G-Force CNC Solutions, we focus on high-precision CNC-machined trigger systems and recoil-assisted designs for serious shooters. We care about reliability, durability, and real performance gains, not gimmicks. Below, we will walk through Canik model compatibility, common install problems to avoid, and a simple function testing checklist so you can run your upgraded trigger with confidence.
Canik TP9 Compatibility with Rapid Reset Triggers
The TP9 family covers several grip shapes and slide lengths, but many share a similar core fire control layout. Most rapid reset trigger system designs are aimed at the striker-fired TP9 models that use a common style of trigger bar, sear housing, and striker block. That includes popular full-size and compact versions that are often used for range work and competition.
Within the TP9 line, details still matter. Things that often affect compatibility include:
- Trigger bar shape and length
- Sear housing style and pin spacing
- Safety lever design inside the frame
- Slide cuts that change striker block parts
Some TP9 variants also use features like a loaded chamber indicator or different striker block geometry. These can change how much take-up you feel, how crisp the wall is, and how positive the reset feels. On some models, a true drop-in rapid reset system is possible. On others, you may need model-specific parts like a matched trigger bar or safety lever for best results.
If your TP9 has extras such as a magazine disconnect or a unique chamber indicator, those parts can slightly change trigger travel and reset length. That is why it is so important to confirm:
- Exact model name and suffix
- Factory SKU if possible
- Approximate production run or generation
Once those are clear, you can match your TP9 to a trigger system that was actually built around that internal layout instead of guessing.
Rival and Mete Pistols with Recoil Assisted Options
The newer Rival and Mete pistols keep the Canik striker-fired style but bring in their own fire control twists. Many of these models share the same basic trigger bar path and sear housing idea, which makes them good hosts for recoil-assisted triggers that are tuned for faster reset in live fire.
Competition-focused Rival pistols show this clearly. They often ship with lighter factory triggers, extended controls, and fiber optic sights. When you pair that kind of setup with a quick, positive reset, you get a pistol that can help you shave time on:
- Split times between shots
- Transitions between plates or silhouettes
- Difficult partial targets at the edge of your skill
Some Rival variants, especially optics-ready versions, may have small internal changes to support different slides or barrel profiles. That is why a recoil-assisted trigger made for Rival models is typically matched to that family, not just a generic TP9 part.
Mete series pistols bring their own details. Grip module changes can shift how your finger reaches the trigger. Slide mass changes how the gun cycles and how much help the recoil assist gives the reset. Striker design and striker spring rate also affect how the trigger feels under live fire. For Mete guns used for duty or defensive carry, correct spring selection and tuning is especially important, so the trigger stays reliable in all kinds of weather and ammo choices, including the colder, wet conditions we often see as fall sets in.
Avoid These Common Canik Trigger Installation Pitfalls
Trigger work looks simple from the outside, but inside the frame, small mistakes can create big safety problems. Some of the most common installation issues we see include:
- Losing tiny pins and springs during disassembly
- Installing the trigger bar, safety lever, or springs upside down or backward
- Over polishing contact surfaces and rounding critical edges
- Forcing tight parts into place instead of finding the alignment problem
When any of this happens, you can end up with a dead trigger, a weak or inconsistent reset, failures to fire, or in the worst case, doubles or unsafe drop behavior. Changing sear or striker engagement without the right knowledge can reduce safety margins even if the trigger still feels good in dry fire.
Practical, safety-focused steps help a lot. Always clear the pistol, then double check that it is unloaded before you start. Work over a clean bench with a light-colored towel so small parts do not vanish. Follow the written instructions in order, without skipping around. If something feels wrong, doesn't line up, or starts to require force, that is the time to pause and get help from a qualified gunsmith rather than pushing through.
Canik Trigger Function Testing Checklist Before Live Fire
Once the rapid reset trigger system or recoil-assisted trigger is installed, careful function testing at home comes next. Go slowly. This is where you confirm that the pistol is safe and that the reset feels right.
Start with these unloaded checks:
- Clear the pistol and remove all ammo from the room
- Check basic trigger take-up, wall, and break by feel
- Hold the trigger to the rear, slowly rack the slide, then ride the trigger forward until it resets
Listen and feel for a clear, repeatable reset click. The break should feel consistent each time. Now test the internal and external safeties. With the slide forward and an empty chamber:
- Try pressing the trigger from the side to confirm the trigger safety is working
- Press the slide slightly out of battery and confirm the trigger does not release the striker
- Shake and lightly bump the unloaded pistol over a padded surface while the striker is cocked to see if anything releases unexpectedly
For rapid reset trigger setups, slow cycle the slide while holding and then releasing the trigger many times. You are looking for any hang-up, hesitation, or odd click that was not there before. Then run fast dry fire strings with a safe backstop, working on smooth finger motion. The reset should stay crisp and reliable at different speeds.
Before the first range trip, inspect wear points on the trigger bar, sear, and striker for any odd drag marks that might point toward misalignment. If you see chips, deep scratches, or metal peening, stop and have a gunsmith take a look before you shoot live rounds.
Run Your Upgraded Canik with Confidence This Season
Once your upgraded trigger passes function checks, plan a dedicated range day before heavy match use or serious defensive training. Start with slow, controlled strings using the ammo you know well. Pay attention to ignition, reset feel, and ejection. If everything is consistent, you can slowly add speed, movement, and transitions.
It helps to keep a simple log of any light strikes, failures to reset, or odd malfunctions, along with your Canik model and ammo type. With clear notes, it is easier to describe what you are seeing so the trigger system can be tuned or adjusted if needed. That way your Canik, paired with a quality rapid reset trigger system or recoil-assisted trigger, can carry you through fall practice and into your next season with confidence.
Upgrade Your Shooting Performance With Precision Components
If you are ready to translate better trigger control into real performance gains, we are here to help. At G-Force CNC Solutions, you can equip your Canik with a purpose-built Rapid Reset Trigger system designed for consistency and reliability. Explore your options today or contact us for guidance on choosing the right setup for your goals.