Field-Tested Trigger Tuning for Summer Match Season
Trigger tuning is one of the fastest ways to make a match gun feel sharper, cleaner, and more honest in your hands. When the trigger is predictable, every press gets easier to call, and your sights move less when it matters most.
Late June is prime time to get that work done. USPSA, IDPA, Steel Challenge, and local outlaw matches are stacking up, and our guns are getting hot and dirty. This is when small problems show up, like a lazy reset or a creeping break. In this guide, we will talk about how to measure and tune pre-travel, break, reset, and overtravel on a CNC-machined trigger system, then finish with a simple diagnostic checklist you can run before any summer match.
First, quick definitions in shooter language:
- Pre-travel: the slack you feel before you hit the wall.
- Break: the snap when the shot goes.
- Reset: how far forward the trigger must move to be ready again.
- Overtravel: how far the trigger keeps moving back after the shot breaks.
CNC-machined trigger system parts shine here. Tight tolerances and consistent geometry mean what you measure today is far more likely to match what you feel next month, even after long, hot match days. Our goal is a repeatable trigger tune that survives high round counts, fast strings, and hard use on popular platforms like Glock, Canik, and Taurus.
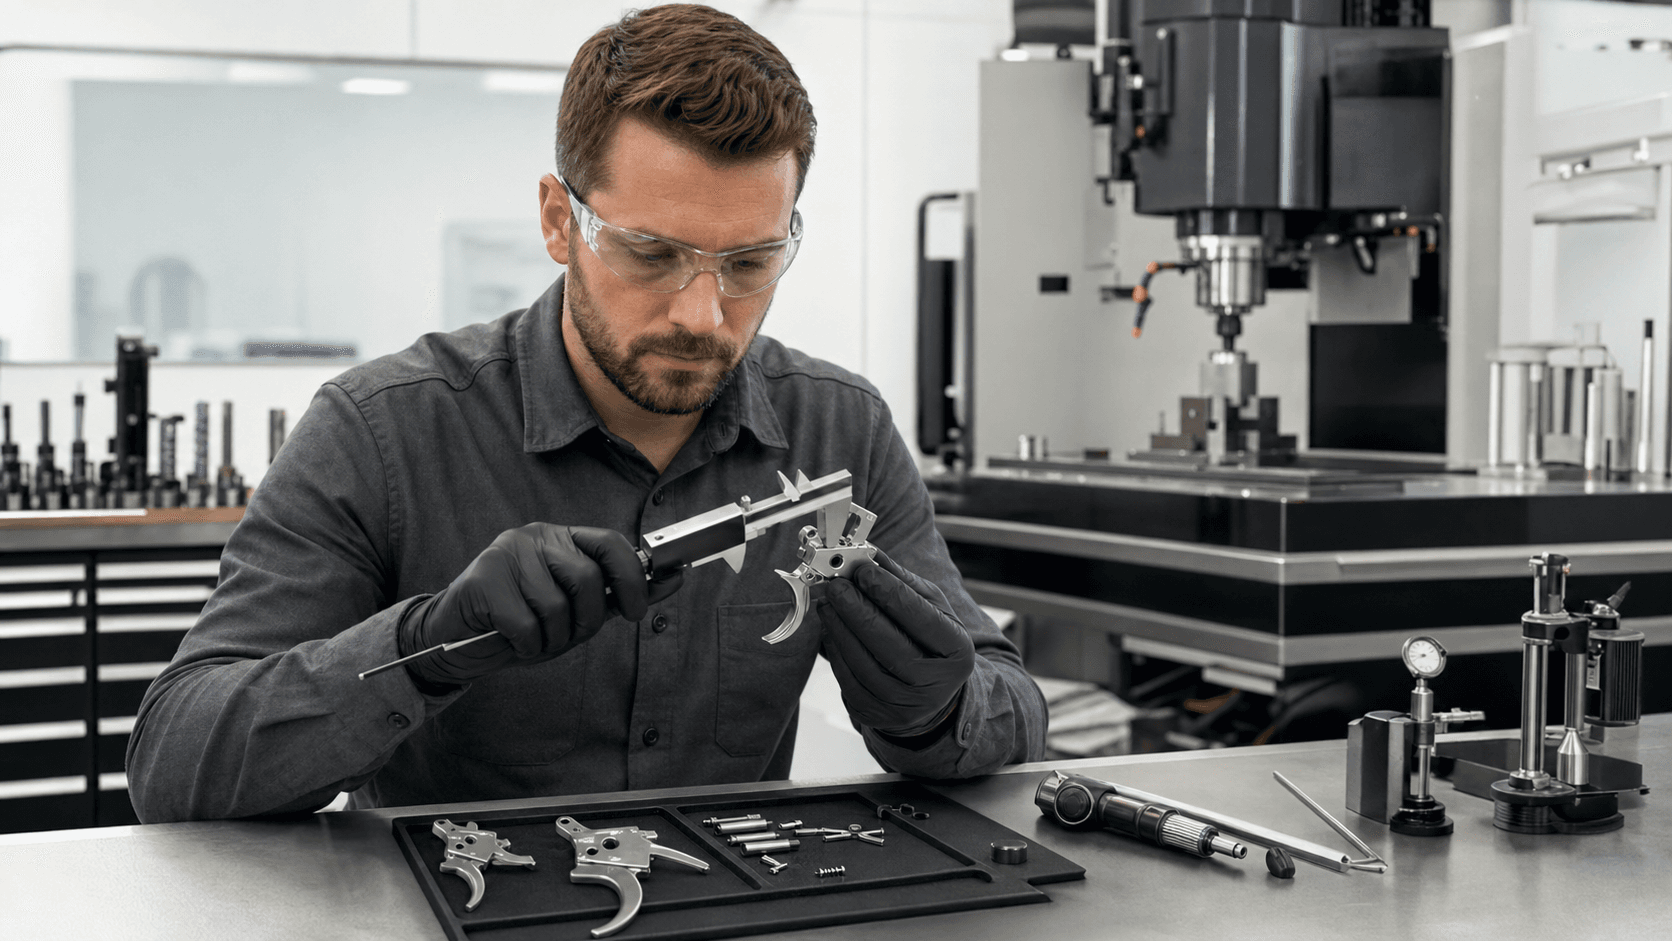
Building Your Trigger Tuning Bench Kit
A good trigger tune starts with a simple, clean bench kit. You do not need a full gunsmith shop, but a few tools help a lot.
We like to keep these basic items on the bench:
- Trigger pull gauge, digital or spring type
- Calipers or feeler gauges
- Small flashlight
- Dummy rounds
- Blue thread locker
- Clean bench mat or towel
If you want to get even more precise, add:
- Smartphone with high-speed or slow-motion video
- Shot timer
- Small magnifier or headband loupe
- Fine-tip marker to mark reference points on the trigger shoe and frame
Safety comes first. Clear the pistol, then clear it again. Keep live ammo in a different area. Work with the muzzle pointed at a safe backstop any time you press the trigger, even in dry fire.
CNC-machined trigger system parts are built around tight tolerances. To really feel the benefit, you need to measure carefully and write things down. A simple notebook or log sheet works well. Record:
- Pre-travel distance
- Break weight and spread
- Reset length
- Overtravel feel and any changes after adjustments
That way, if something feels worse, you can roll back to a known good setup.
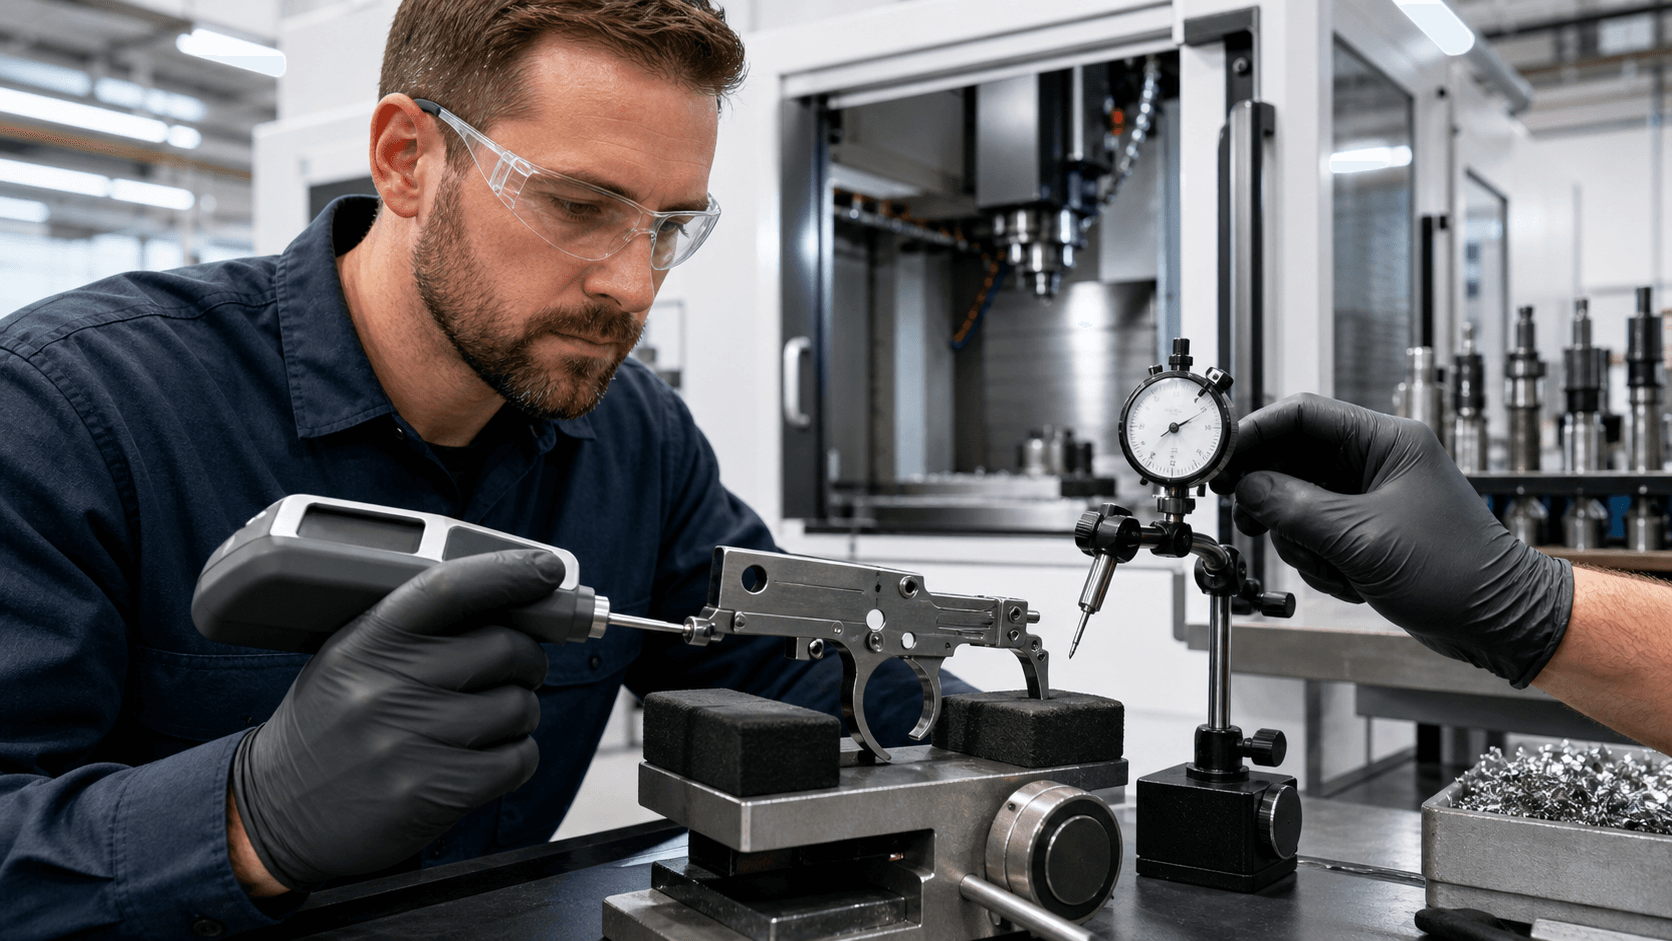
Measuring and Diagnosing Trigger Pre-Travel
Pre-travel is that initial take-up before you hit the wall. A little is fine, especially on defensive-style pistols, but too much or inconsistent pre-travel slows your first shot and makes long shots feel vague.
Here is a simple way to measure:
- Make sure the gun is unloaded and pointed in a safe direction.
- Start with the trigger at rest. Slowly press straight back until you feel the hard wall where the sear is about to release. Go slow and pay attention to that exact spot.
- Use calipers or a mark-and-ruler method. Mark the trigger shoe at its rest spot against the frame, then mark again at the wall. Measure the distance between those marks.
- Repeat several times and average the numbers. Note if the wall feels like it moves around.
A well-made CNC trigger system often cuts out that mushy, stacked feeling. Consistent pivot points and a well-shaped trigger shoe help you find the wall the same way every time.
If you feel grit, stacking, or if pre-travel seems to change from one magazine to the next, that can point to:
- Debris or fouling on contact surfaces
- Uneven wear spots
- Pins not seated right
- Frame drag on Glock, Canik, or Taurus frames
First-line fixes are usually simple: clean out the trigger area, lightly lube the correct contact points, confirm the pins are fully seated left to right, and check that the trigger shoe is not scraping the frame window.
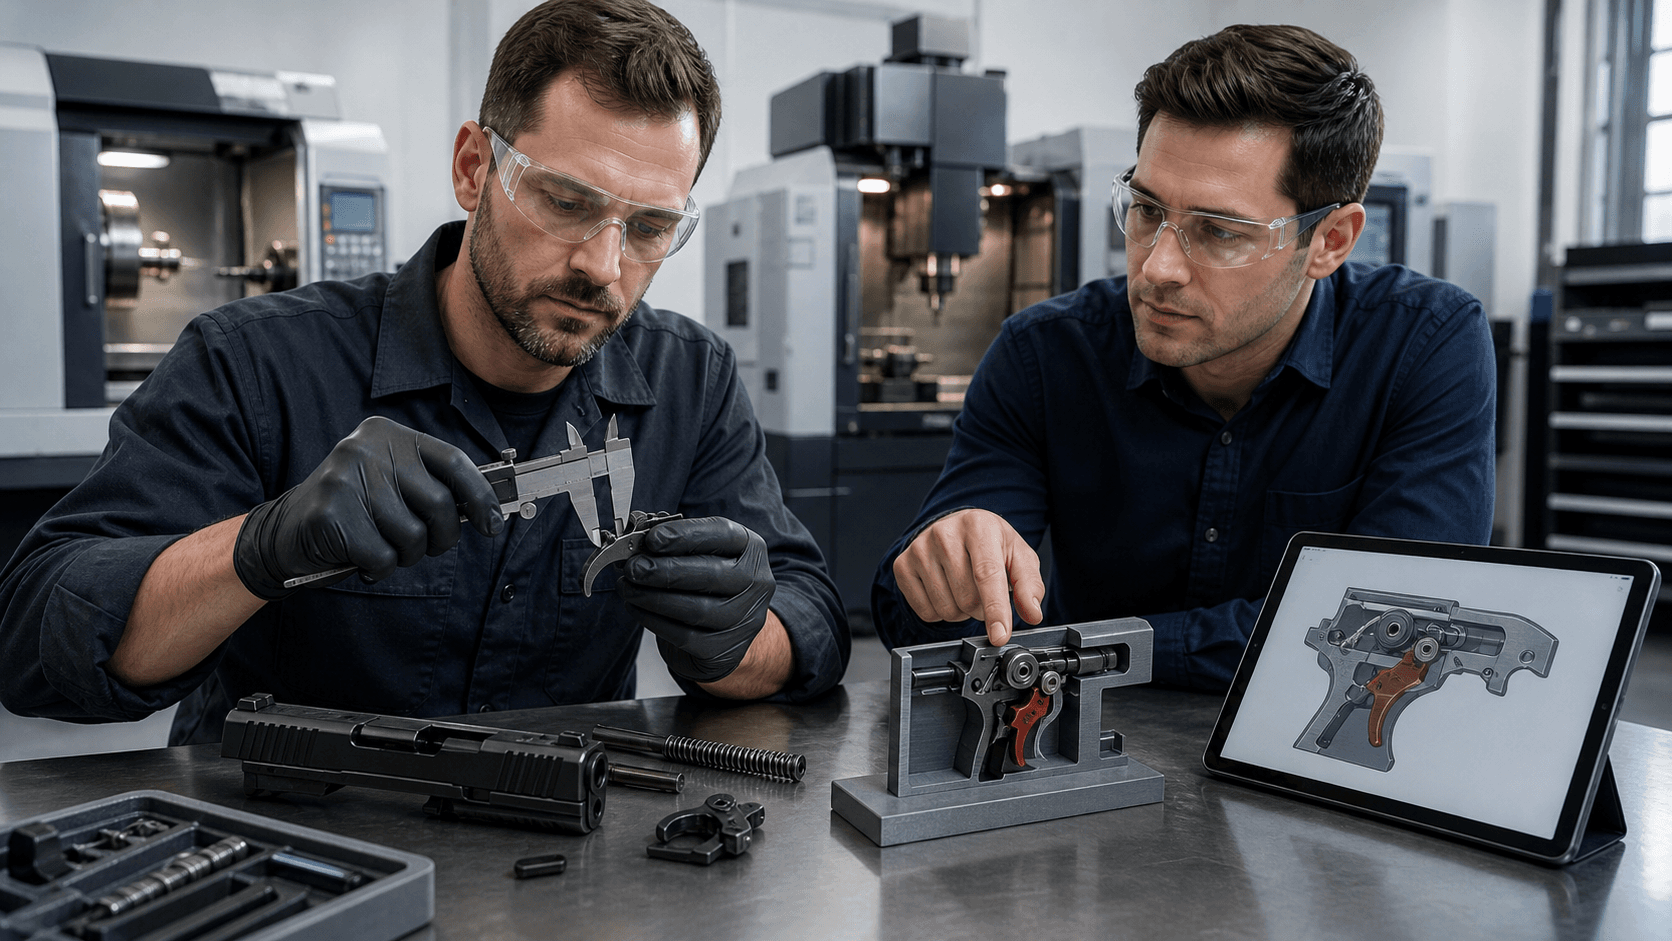
Sharpening the Break and Reset for Match Speed
The break is where the magic happens. A clean, crisp break helps you call shots and stack groups, even when the buzzer is pushing you. Creep or a rolling break makes that much harder.
To measure break weight:
- Cock the pistol and make sure it is unloaded.
- Place the trigger pull gauge hook or pad in the center of the trigger shoe.
- Pull straight to the rear at a steady pace until the trigger breaks.
- Record the weight, then repeat at least five times and average the numbers. Note how much they vary.
Good CNC geometry and surface finish tend to tighten that spread. You get a more predictable break from shot to shot, instead of a pull that feels heavier one time and lighter the next.
Reset is next. This is the distance you let the trigger move forward before it is ready for the next press. It matters a lot for split times and follow-up shot consistency.
Try this reset check:
- From the break, slowly let the trigger move forward while keeping some pressure on it.
- Feel and listen for the reset click.
- Mark the trigger at that reset point, then measure from the rearmost position to reset with your ruler or calipers.
- Pay attention to how sharp or dull the reset feels.
A reset that is weak, vague, or very long can suggest issues with springs, connector angles, or forced reset timing.
Then confirm with a simple field test:
- Run controlled pairs and triples on a timer.
- Compare splits and hits before and after any changes.
- Watch if your finger can stay in the trigger guard and ride reset cleanly, or if you tend to pin and slap.
Controlling Overtravel and Forced Reset Timing
Overtravel is what happens after the shot breaks, as the trigger keeps moving backward. Too much overtravel can knock your sights off at the instant of the shot and slow down the reset.
To measure or at least judge overtravel:
- Film your trigger finger in slow motion while dry firing.
- Look for how far the trigger continues past the break point.
- You can also use reference marks to compare rest, break, and end of travel distances.
With forced reset systems, overtravel and timing are tied together. You need enough rearward movement for the system to cycle and reset the trigger, but not so much that you waste motion or cause late resets.
Here is a helpful forced reset diagnostic checklist:
- Confirm the trigger resets every time during slow dry fire.
- Speed up your presses. Watch for any missed resets.
- Change grip pressure and try one-handed shooting to see if reset stays solid.
- Make sure the trigger is not touching the frame or guard at the very end of travel on Glock, Canik, or Taurus frames.
Tuning tools can include an overtravel screw if your design uses one, checking spring orientation, making sure pins are fully seated, and confirming all CNC parts are properly aligned and snug with thread locker where allowed.
Field-Proven Diagnostic Checklist for Match Day Confidence
Before a summer match or a long training day, run a quick trigger checklist. It does not take long and can save you from surprises on the line.
Dry fire checks:
- Clear firearm and confirm safe function.
- Check pre-travel feel, then confirm your measured distance is still close to your log.
- Record break weight and make sure the spread is similar to your last baseline.
- Ride the reset several times and confirm it is positive, short, and repeatable.
- Watch overtravel and confirm it does not yank the sights off target.
Then add a short live-fire test:
- Shoot ten slow-fire rounds at 15 to 25 yards, calling each shot and checking the point of impact.
- Run controlled pairs on a 6-inch plate at 7 to 10 yards with a timer, watching both splits and hit quality.
- Shoot one-handed strings with both strong and support hand to confirm break and reset stay consistent, even as grip and recoil control change.
Keep all these notes in one place. Over a full summer season, this makes it easy to spot changes from wear, dirt buildup, or small part shifts in your CNC-machined trigger system.
Lock in Your Summer Trigger Tune and Next Steps
When we take the time to measure pre-travel, break, reset, and overtravel, we turn a "pretty good" trigger into a known, repeatable system. That is the real strength of a CNC-machined trigger system for match guns: you can tune it, document it, and trust it across long, hot, high-round-count months.
At G-Force CNC Solutions, we build American-made forced reset and performance trigger components for popular Glock, Canik, and Taurus platforms with this kind of repeatable tuning in mind. As factory parts start to feel inconsistent under your own tests, it may be time to look at purpose-built components and, when needed, professional installation so you can get the most from your setup.
Set aside a dedicated trigger-tuning session before your next match. Run through the full checklist, write down your numbers, and keep that data as your personal trigger baseline. When every press feels the same, your focus can stay where it belongs: on the stage plan, the sights, and a clean run all the way to "Unload and show clear."
Get Started With Your Project Today
If you are ready to upgrade your firearm's performance with precision components, explore our CNC-machined trigger system options tailored to serious shooters. At G-Force CNC Solutions, we machine every part with the accuracy and consistency your build demands. If you have questions or need guidance choosing the right setup, contact us so we can help you move your project forward with confidence.